GromPack.
Operator Manual.
Surgical deployment, ethical guidelines, and recording interface documentation.
GromPack is currently in Beta. This documentation reflects
the work-in-progress hardware. V1 coming soon.
1. Setup & Tools Preparation
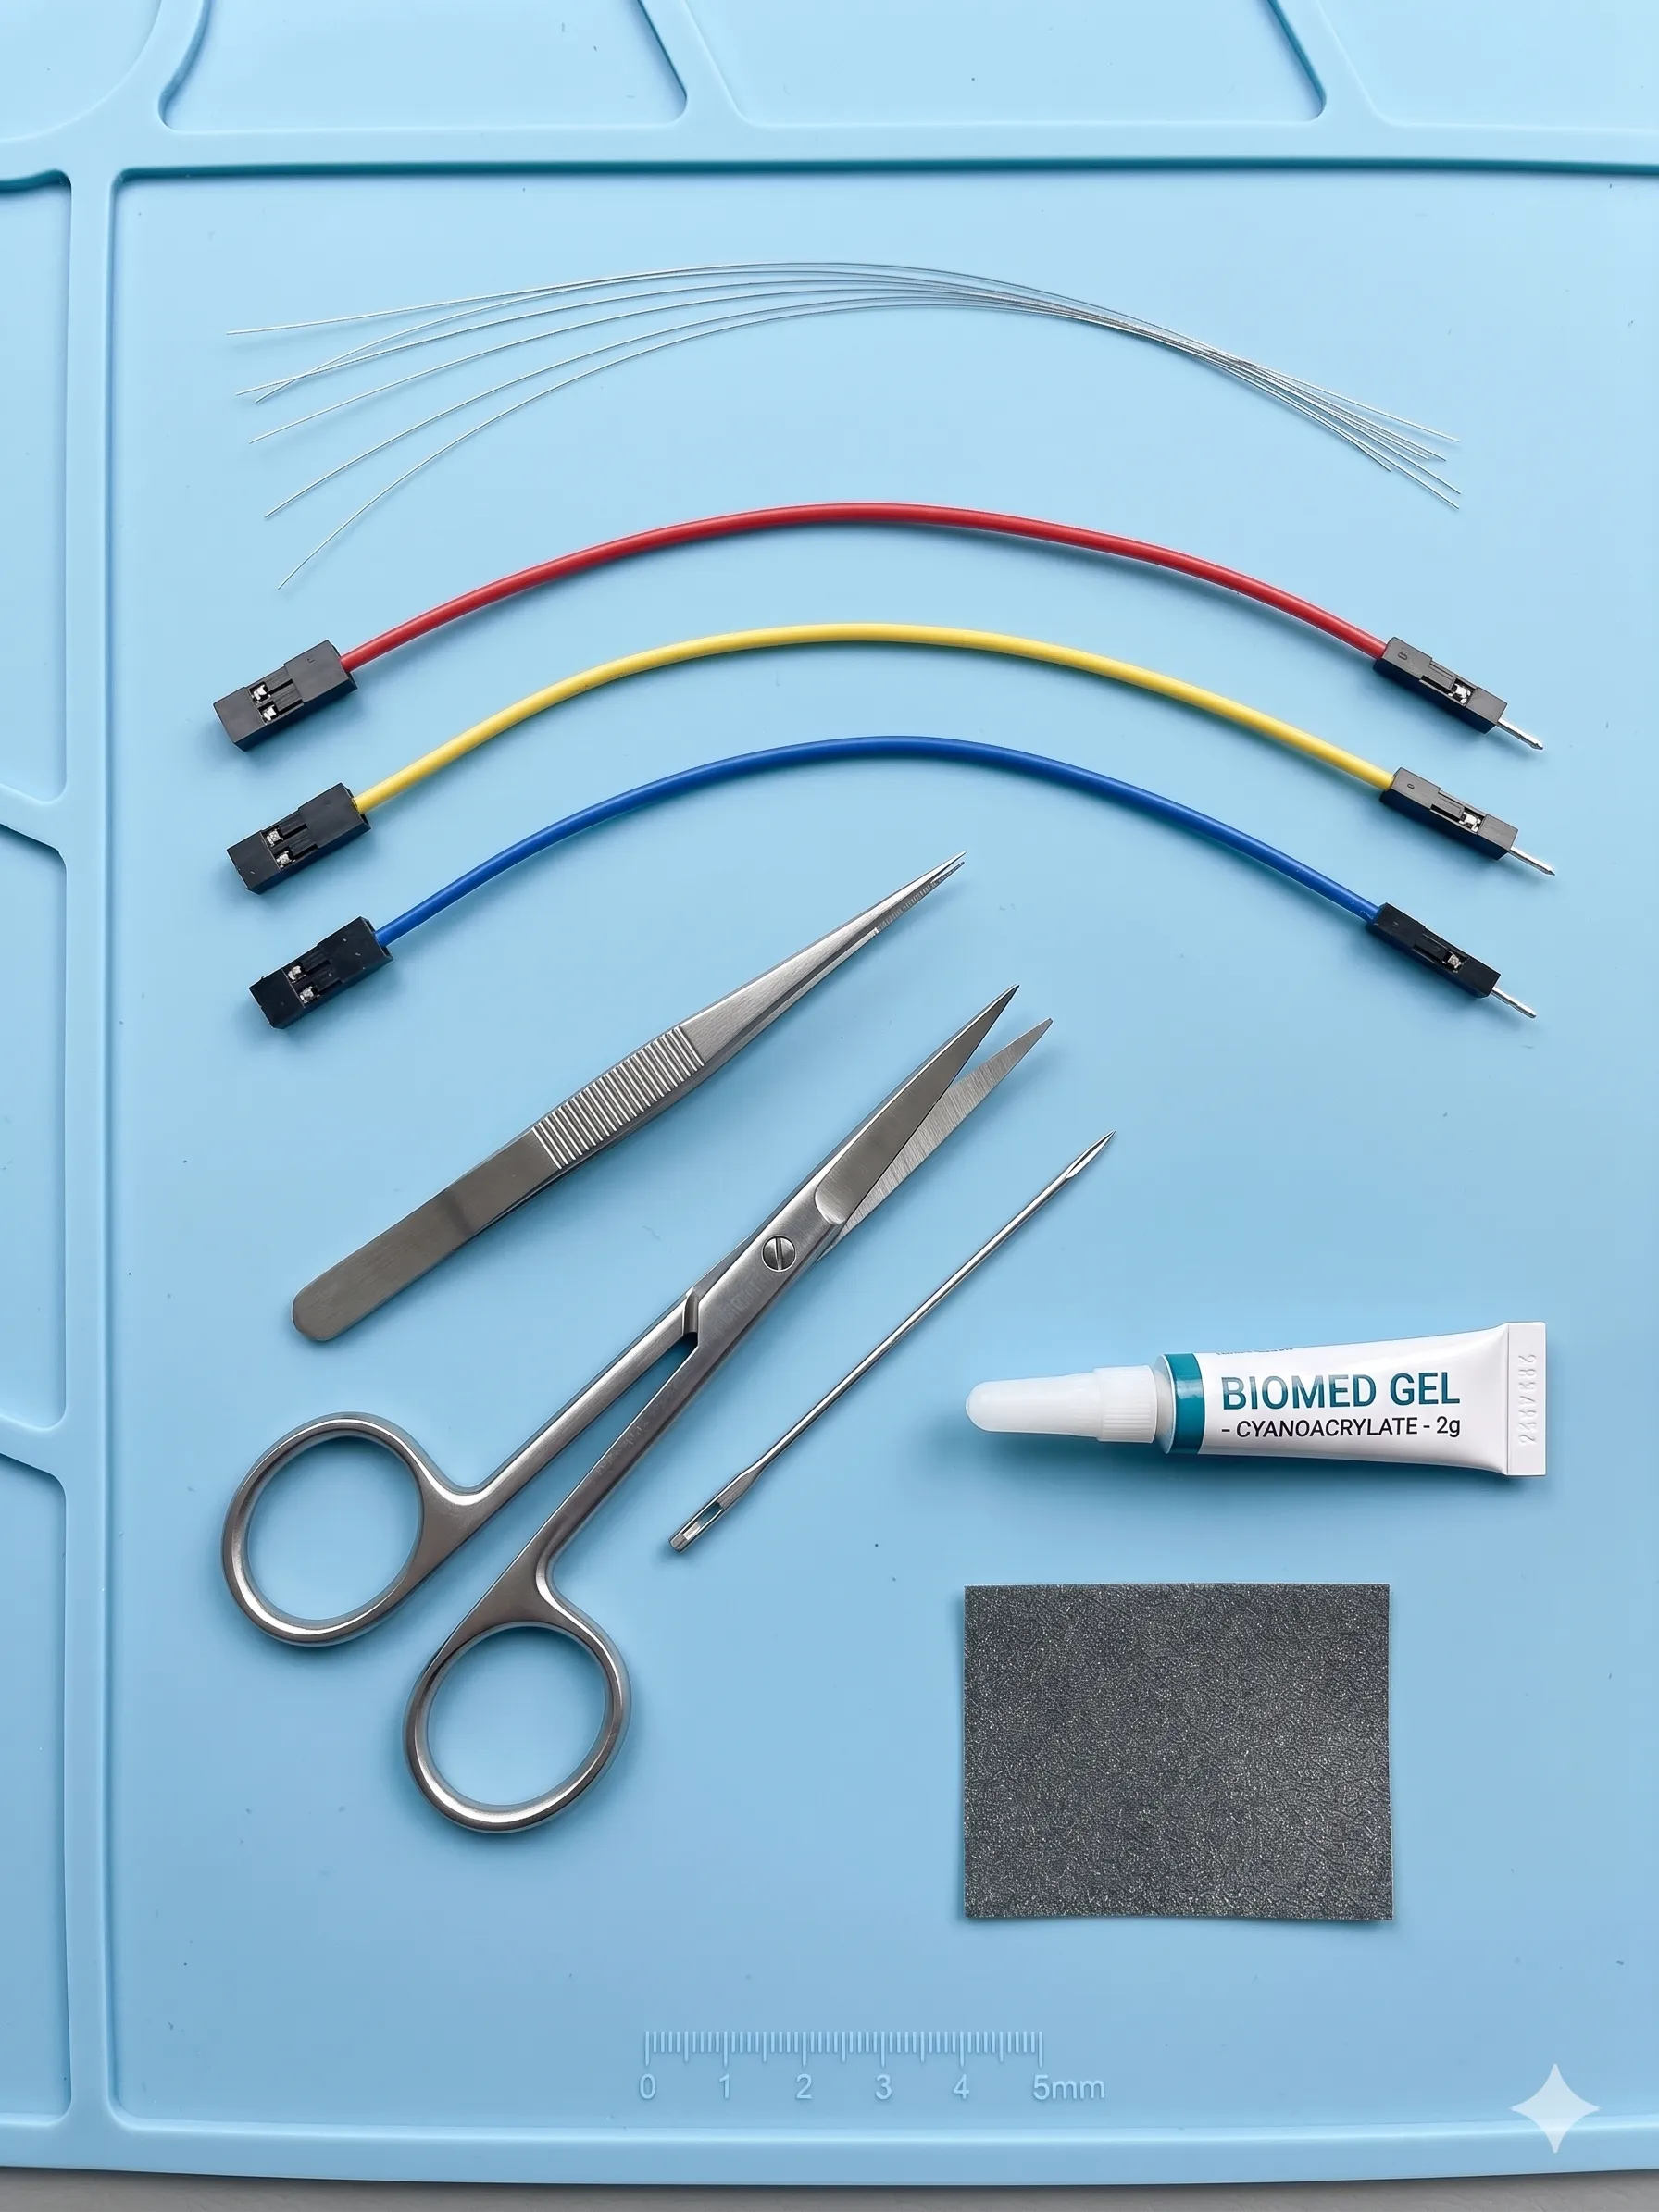
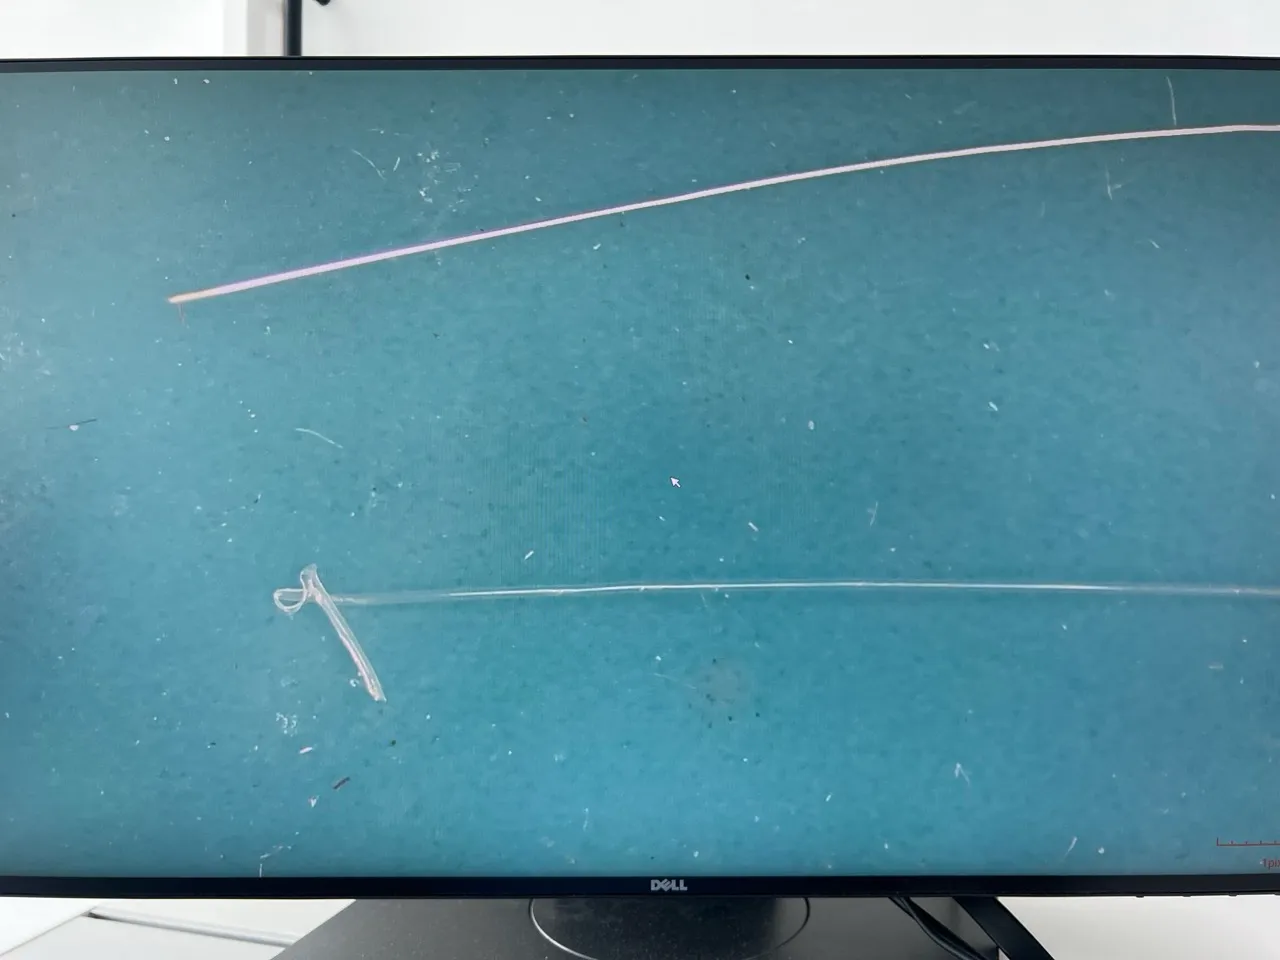
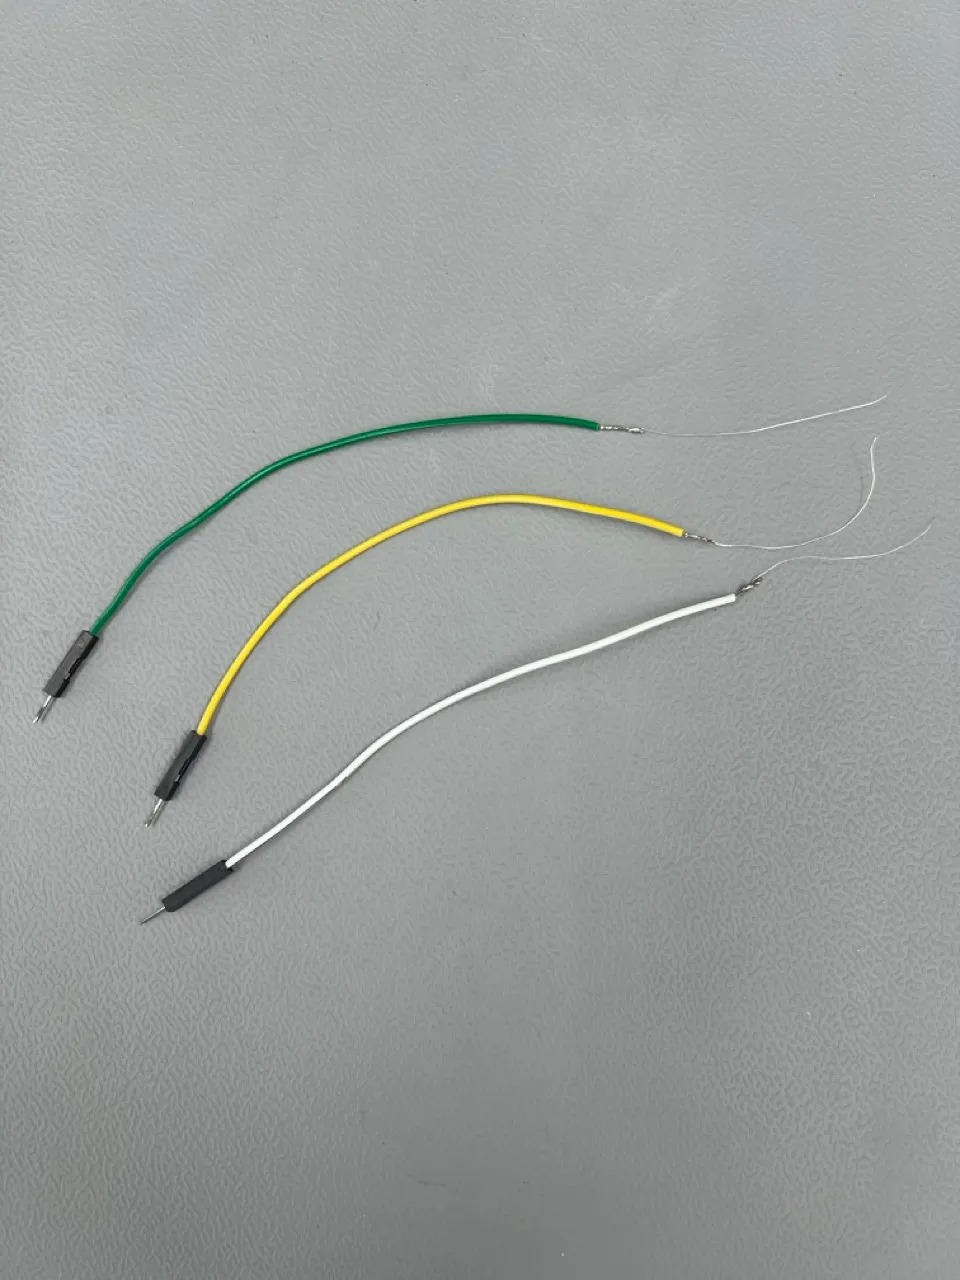
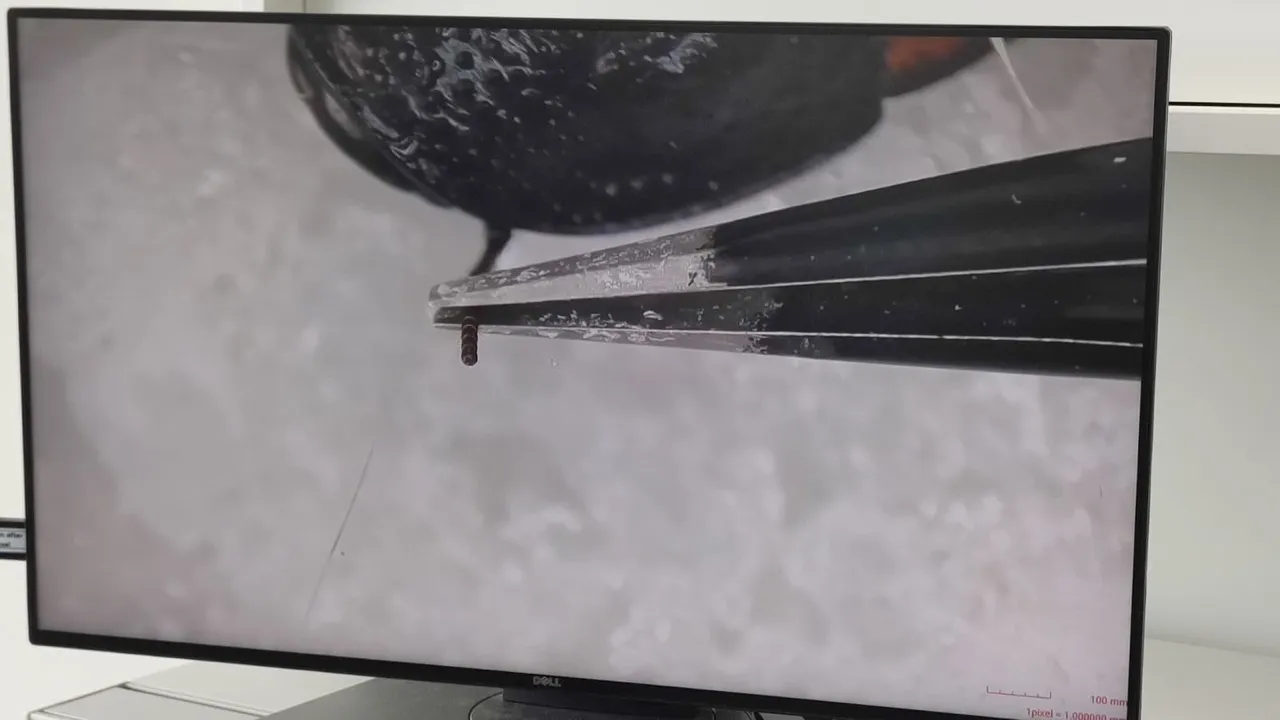
Before handling the specimen, ensure all surgical tools and wiring are prepared. The silver wires require precise stripping to ensure a clean signal without damaging the delicate antennae. These are then soldered onto jumper wires for ease of connection with the GromPack later on.
2. Ethical Anesthesia
Ethical Notice: The Madagascar Hissing Cockroach must
be treated with care and respect. Proceeding with the surgery before the
roach is completely numb is strictly prohibited.
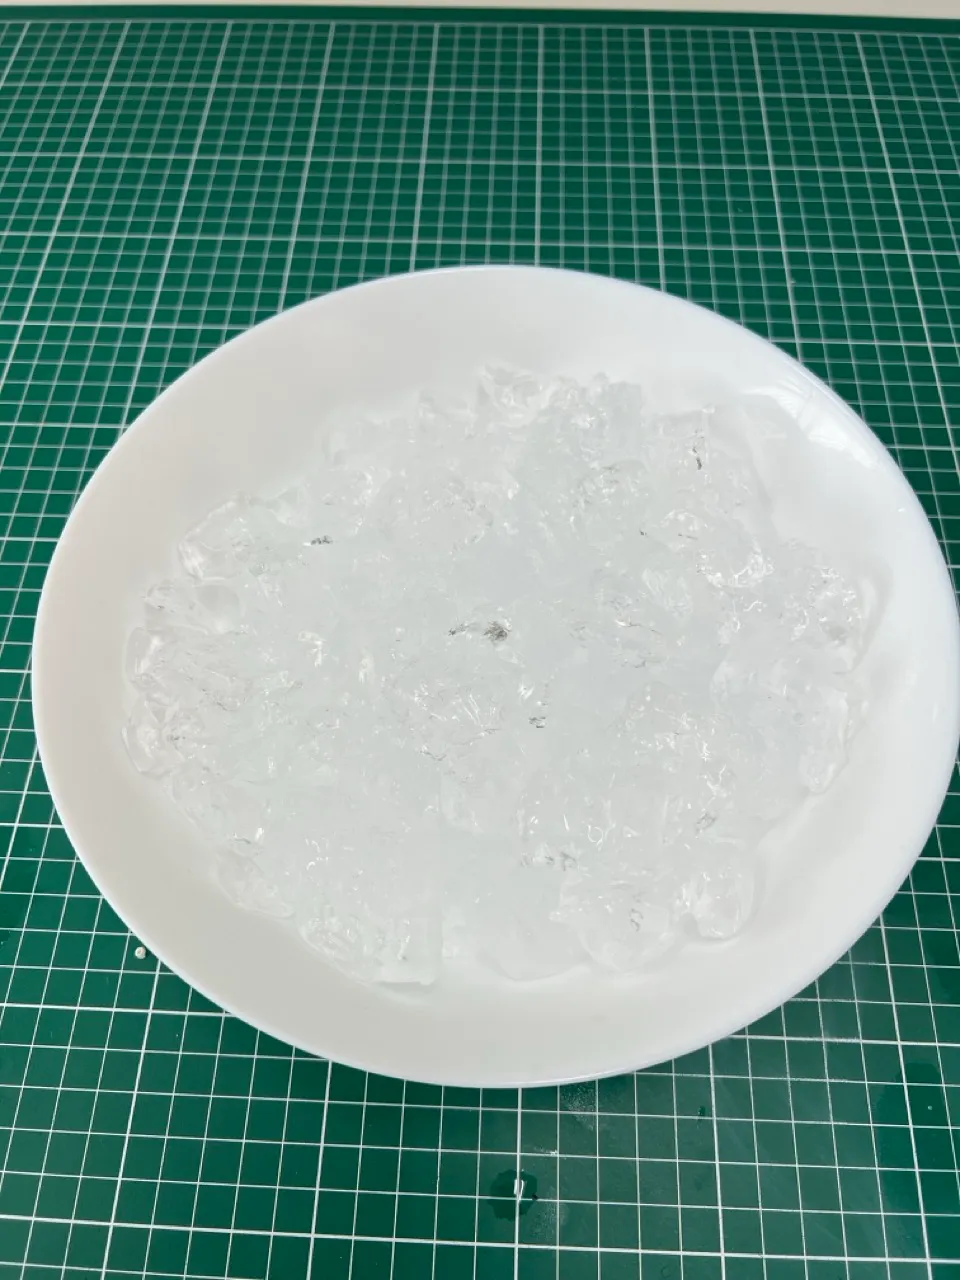
- Initial Bath: Place the specimen in the prepared ice
water bath.
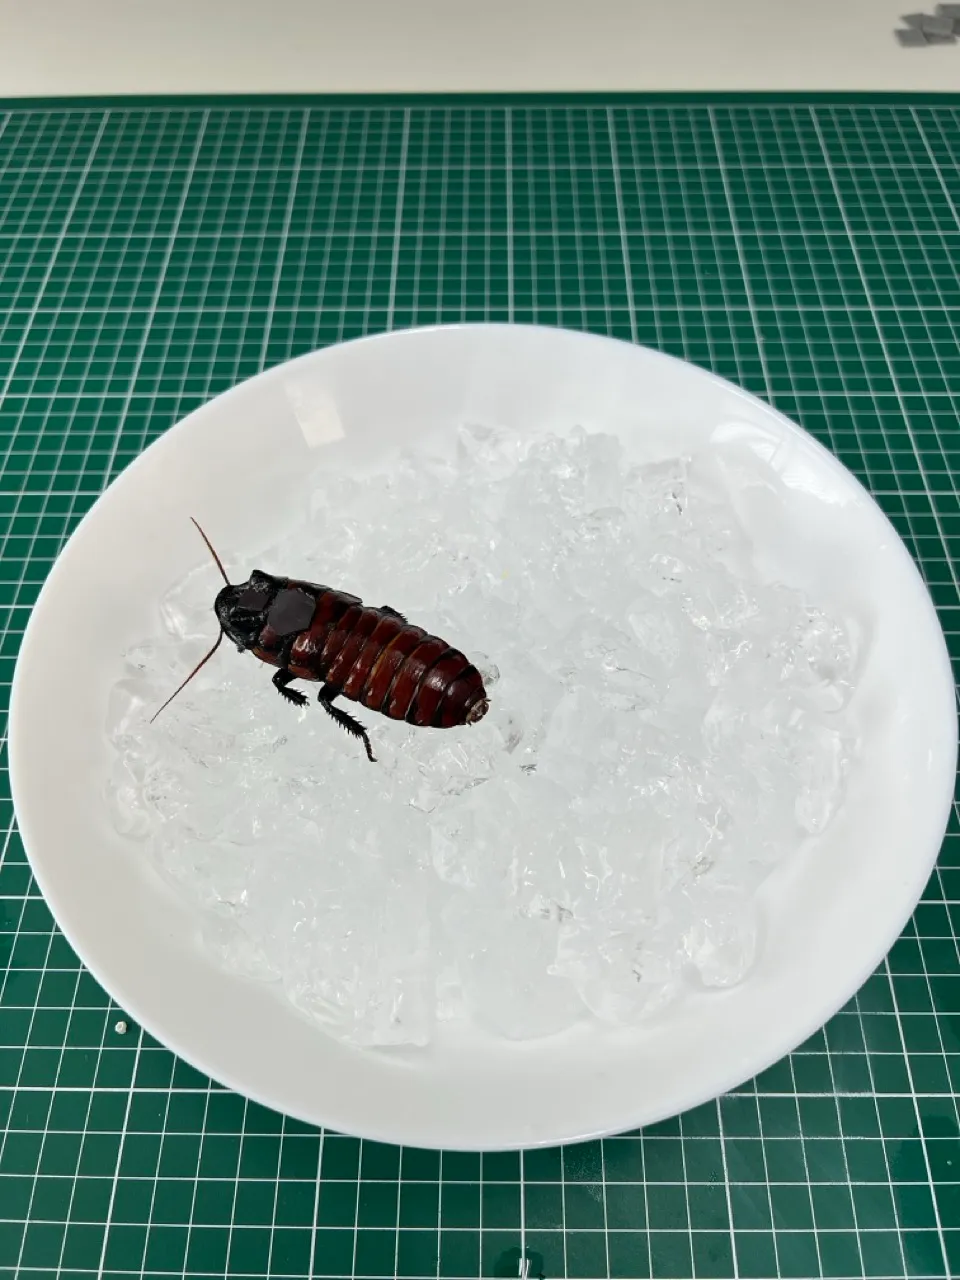
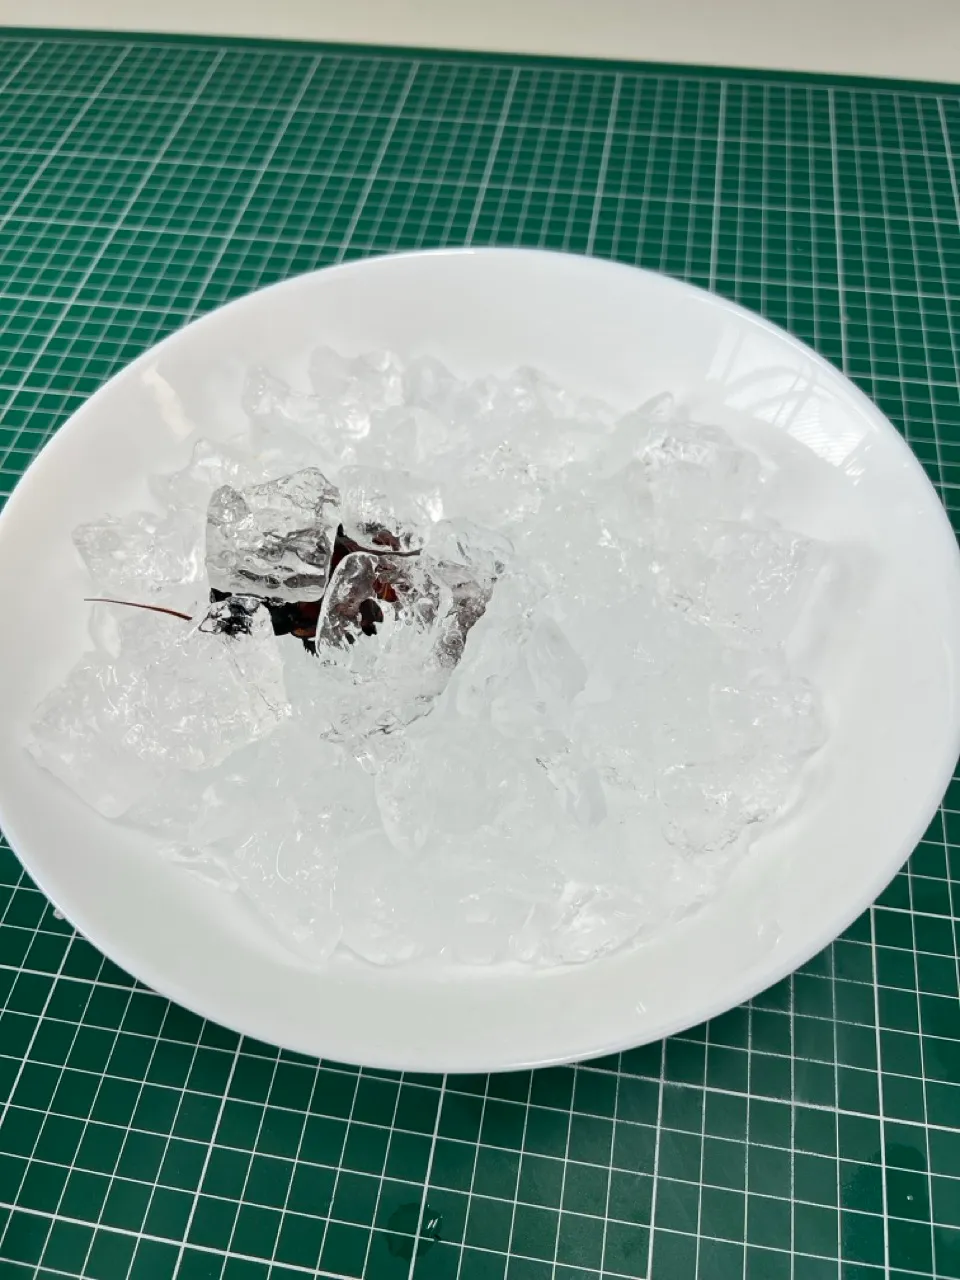
- Monitoring: Leave the roach submerged for 10 to 15 minutes. You must wait until the roach is completely numb, totally
immobile, and visibly less reactive to gentle touch stimuli.
3. Surgical Procedure
Once the roach is fully anesthetized, you have a limited window to perform the surgery carefully.
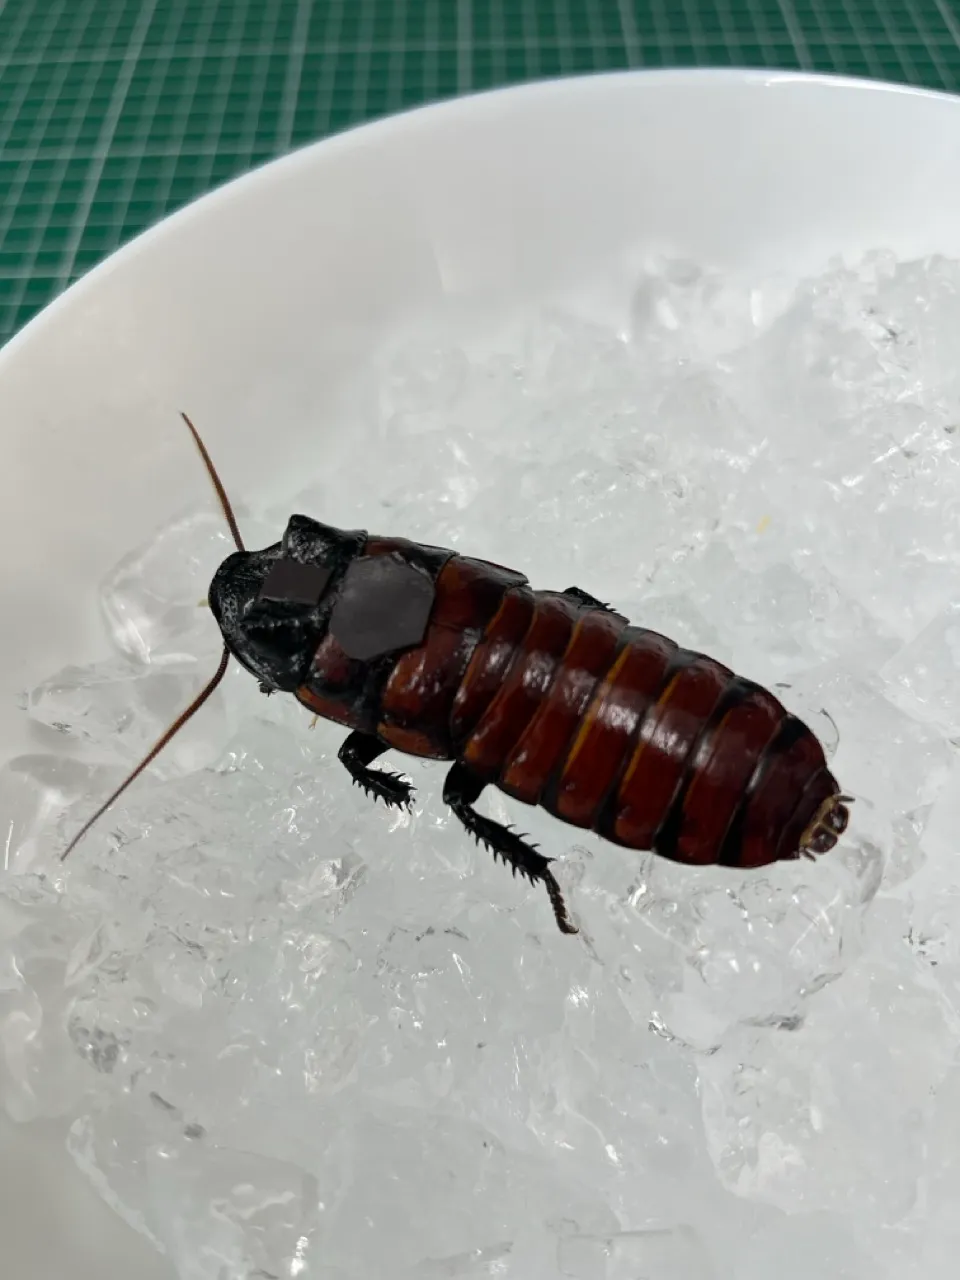
- Magnetic Base Placement: Gently dry the pronotum (the
shield behind the head). Apply a tiny amount of cyanoacrylate (super
glue) and attach the magnetic strip. Ensure it is perfectly centered.
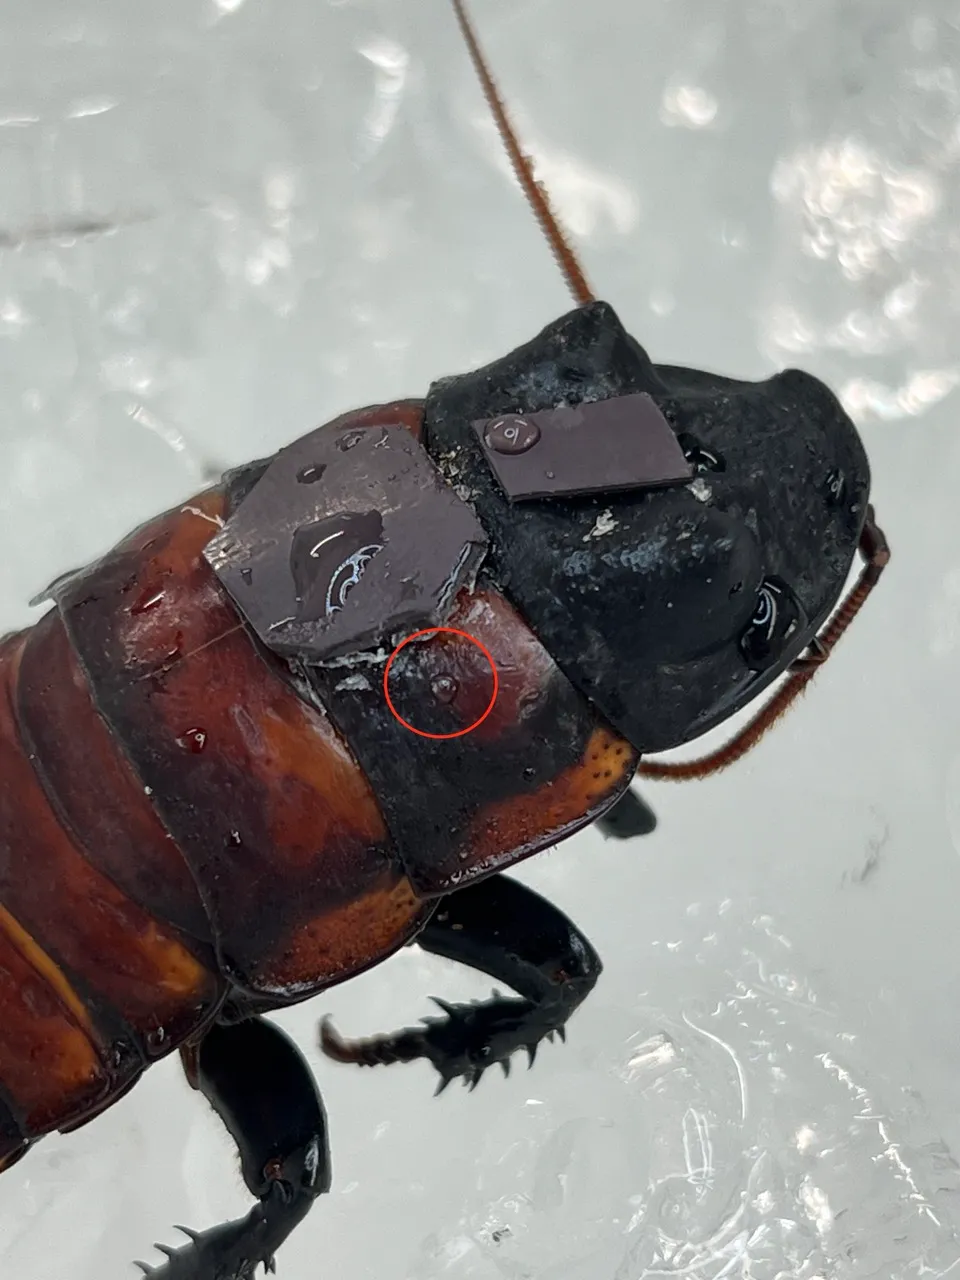
- Thorax Reference Hole: Using a sterile precision needle,
carefully pierce a shallow hole into the thorax. This will serve as
the connection point for the reference electrode.
- Antenna Prep & Electrode Insertion: Using sterile micro-scissors,
carefully snip the tips of the antennae to expose the hollow inner tubes.
Next, gently insert the stripped silver wires into both antennae, and
place the reference wire into the thorax hole. Apply an absolute minimal
drop of glue to secure each wire.
- Final Verification: Ensure all three cables are secure
and properly insulated from one another before proceeding.
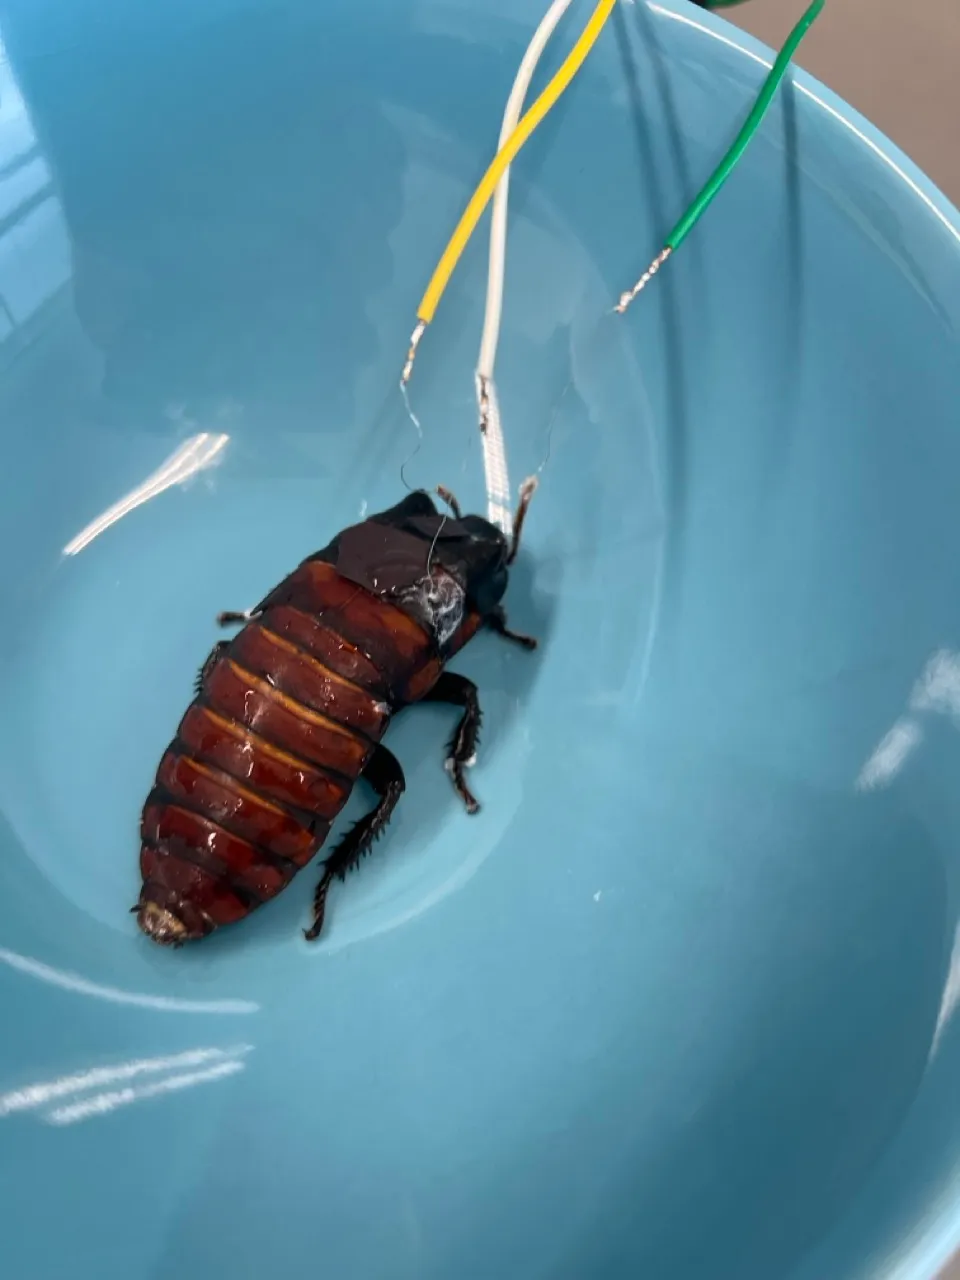
4. Connection & Data Logging
⏱️ Operational Setup Time: < 5 Minutes
- Mounting: Snap the GromPack Compact module onto the
magnetic strip on the roach's back. Connect the three jumper cables
to their respective points: Left Antenna, Right Antenna, and Thorax Reference.
Note: Photographic documentation of the final GromPack Compact mounted on the specimen is currently pending our final manufacturing run.
- Software Launch: Open the GromPack Control GUI.
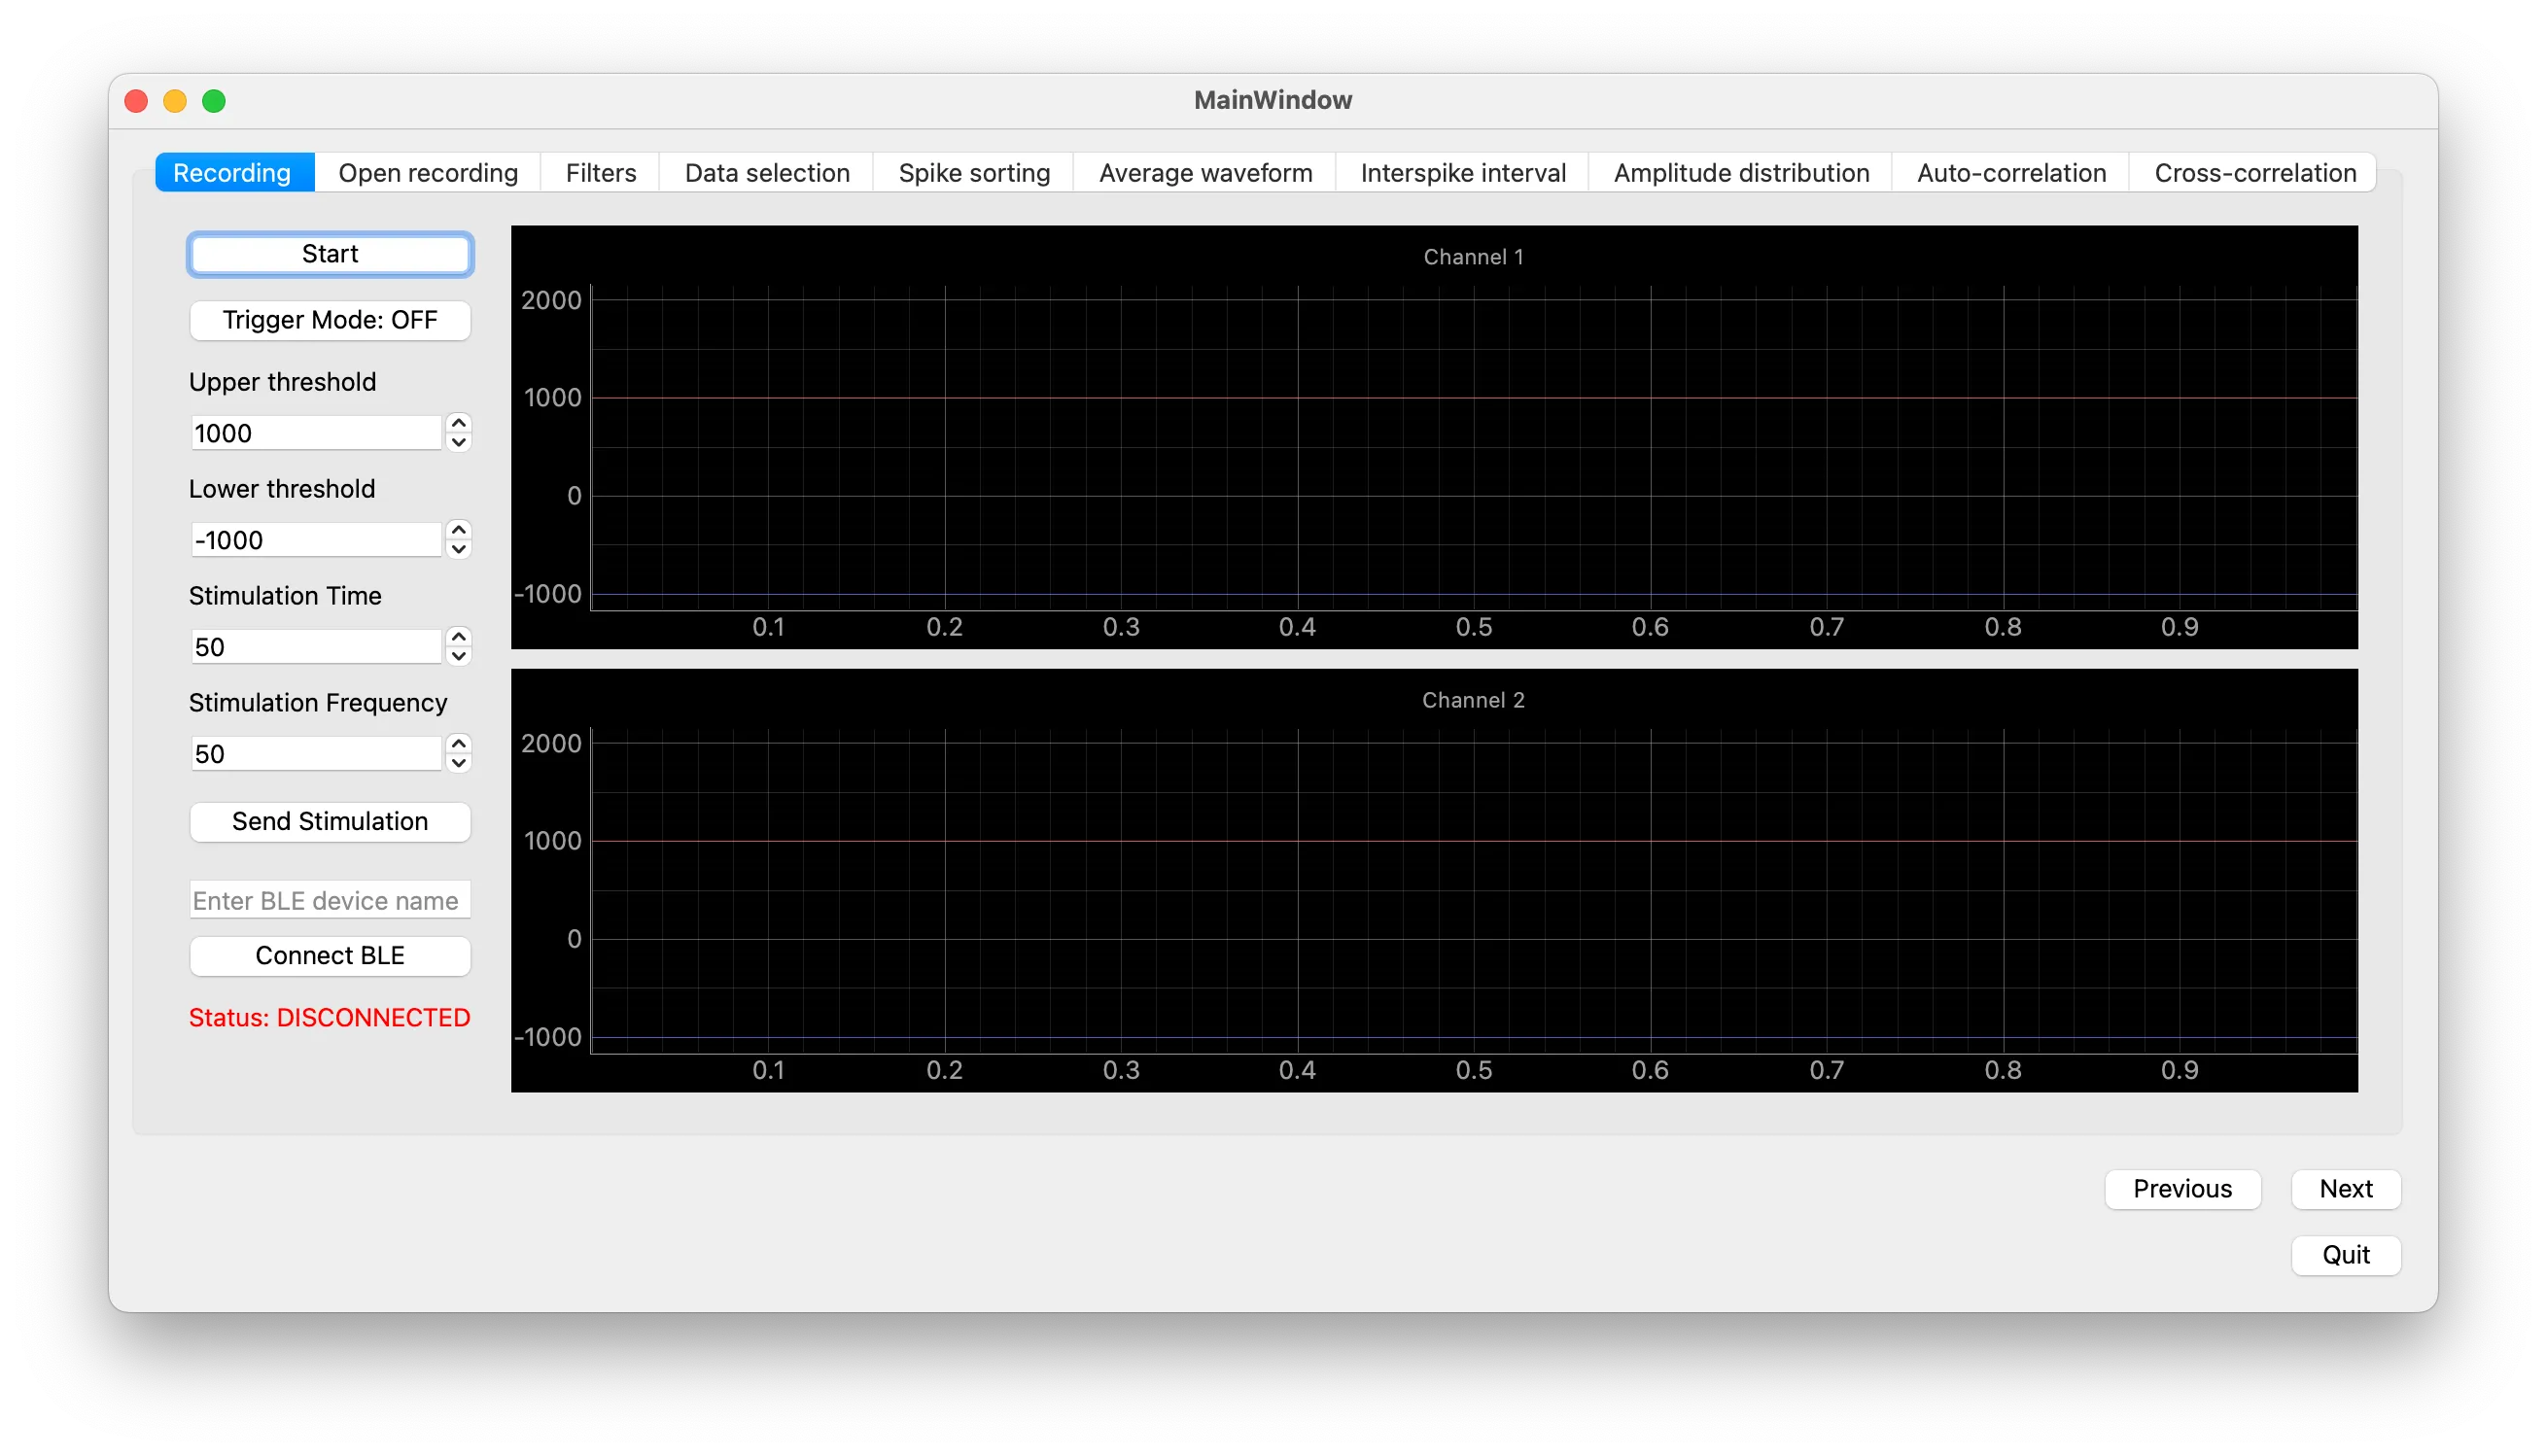
- Connect via ID: Ensure the GromPack Compact is powered
on. In the GUI's connection field, type the GromPack name followed by
its unique ID (e.g.,
Grompack-1A2B) and click the Connect button. - Operation: Use the built-in GUI buttons to begin your
neuro-recording session.
- Start/Stop Recording: Toggles the data collection pipeline and streams the neural data to the real-time dashboard.
- Save: Export your incoming data streams to
.wavfiles for downstream signal processing and behavioral correlation analysis.